Thursday, November 22, 2012


Tuesday, November 13, 2012
Using Pens & Markers
How do you use your pens and markers in your crafting? Do you use them in your cutting machine or just as stand alone tools?I love using mine with my cutting machines.
I wanted to make a parrot embellishment for my vacation page. I didn't have the color papers that I needed so I found a piece of free artwork online, pixel traced it in Make The Cut program and cut it out. I used my markers to fill in the parrot with the colors from the photo.


Here are some suggestions:
Happy Crafting!
I wanted to make a parrot embellishment for my vacation page. I didn't have the color papers that I needed so I found a piece of free artwork online, pixel traced it in Make The Cut program and cut it out. I used my markers to fill in the parrot with the colors from the photo.

Universal Studios Orlando - Jimmy Buffetts Margaritaville

This is the parrot embellishment

Small and Large Parrot embellishments on page
I used white cardstock to draw out the top layer, inserted a marker in cutting machine. Then I went back and cut the layer and filled it in with markers.
Here are some suggestions:
- There are pen and marker holders made for your cutting machine. Remove your cutting blade and insert the holder with your pen or marker. Now you are ready to let your machine do the drawing of your file before you cut it out.
- Let your machine draw your title or do your writing for you. Some people don't like their own handwriting. There are single line fonts available online.
- Use more than one color to draw your title. Instead of cutting out letters, I chose a font and then I make 2 or 3 sizes for the lettering. Draw the smallest size first. Change out your color and do the next layer in a larger size in another color, same for the 3rd layer. You can add lots of dimension to your title without using layers of paper on our project.
- Metallic pens and markers give a hint of sparkle to your cuts. They really give a nice especially on holiday files.
- If you are stamping and don't have a stamp pad in a certain color, swipe your marker over a sponge and add your color.
Happy Crafting!
Saturday, November 10, 2012
From Trash to Treasure
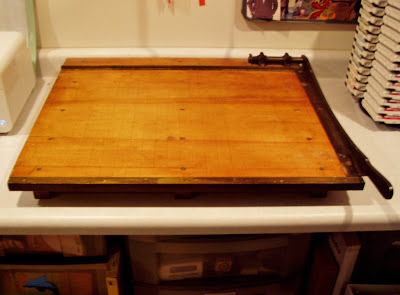
Does anyone remember the huge wooden paper cutters with the big black heavy metal handle from their school days? I have it!! A few years ago, my husband was taking garbage to our local dump. He met a man who said he was throwing out stuff from one of the schools and the paper cutter was no longer safe to be used around children in the classroom. The stop for the blade was missing.
My husband, always thinking ahead, brought it home. He nailed in a stop for me and I have a wonderful, and very accurate paper cutter. It shows 26 1/2 inches on the metal ruler and has lines from top to bottom edged into the wood. Talk about a great find.

My husband, always thinking ahead, brought it home. He nailed in a stop for me and I have a wonderful, and very accurate paper cutter. It shows 26 1/2 inches on the metal ruler and has lines from top to bottom edged into the wood. Talk about a great find.
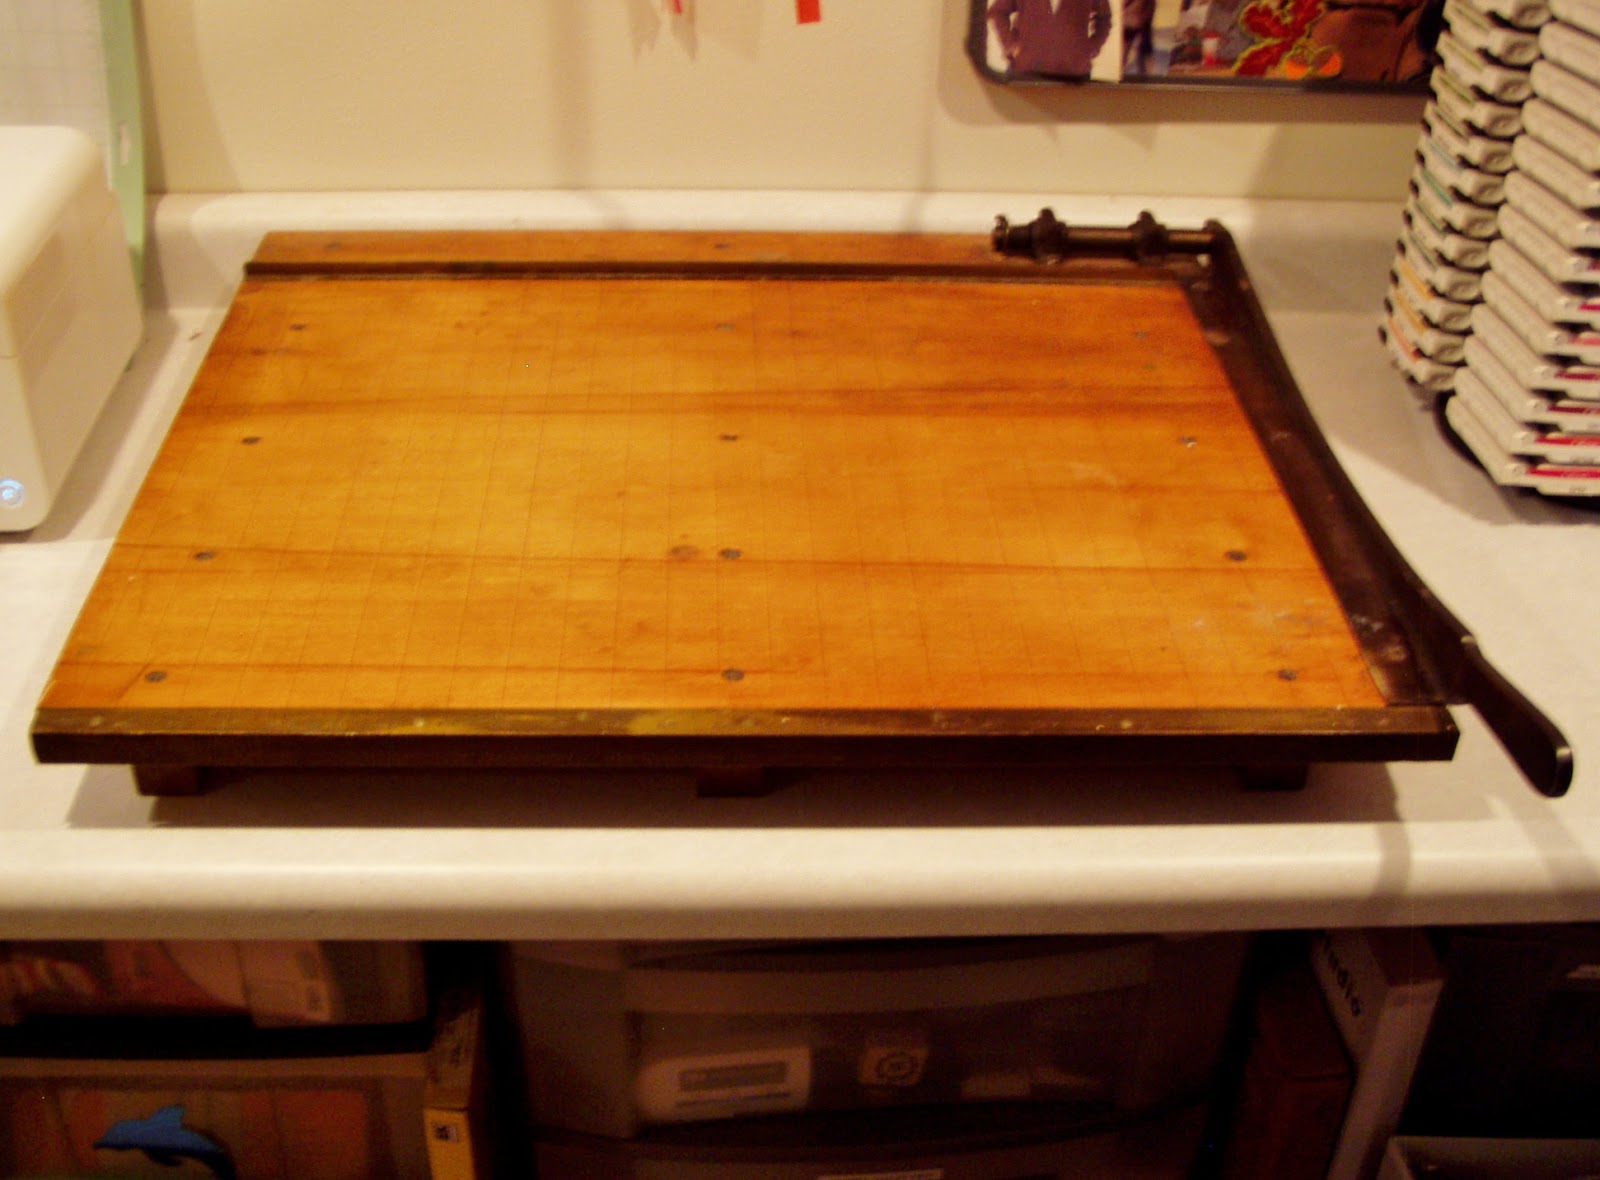
A Treasured Find!

Here is a close up of the ruler on top of board
. The inch lines go from top to bottom of board.
So from what almost was thrown in the trash, has become a very treasured and well used item in my paper crafting. I also use it as a guide for layouts for my scrapbooking.
Here is hoping you come across an old fashioned treasure to help with your crafting!
Wednesday, November 7, 2012
Here's How I Store My File Cuts
Yesterday I posted an idea about how I store my file cuts on the EasyWishbladers group. It's a very easy way to keep track of the files that I cut with my cutting machines.
I use the older big square version of their Power Sort Box that was designed to hold like 600 photos. I wish they would have kept this size box but now they have a slimmer model. Anyway, inside it holds 12 divided Compartment boxes. I also use the Power Sort Dividers that I labeled with my Dynamo Labeler. I like that the box is plastic, yet sturdy. If something were to get spilled on it or dropped on it, I know my files are safe inside. There is quite a bit of space inside so I can really load this box with lots of file cuts.
Here are the photos:


I use the older big square version of their Power Sort Box that was designed to hold like 600 photos. I wish they would have kept this size box but now they have a slimmer model. Anyway, inside it holds 12 divided Compartment boxes. I also use the Power Sort Dividers that I labeled with my Dynamo Labeler. I like that the box is plastic, yet sturdy. If something were to get spilled on it or dropped on it, I know my files are safe inside. There is quite a bit of space inside so I can really load this box with lots of file cuts.
Here are the photos:
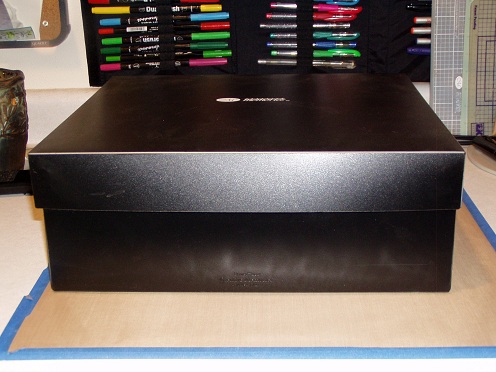
Creative Memories Power Sort Box
(older version)

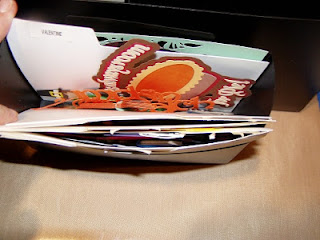
Inside Cover

Divider Boxes with Labeled Divider Panels

Thanksgiving File Cuts
I have large file cuts that will not fit in the divider boxes, so those are kept in the storage compartment that is built into the lid. This gives you an idea how to keep your file cuts all in one place. If I find a design that I like, I will cut it more than once in different colors or even in just white, so I can decorate it later in the colors I need. It really can't get any easier than this!
Hope this tip helps you in some way. Have a great day!
Tuesday, October 30, 2012
Hurricane Sandy
My heart goes out to all those that are being affected by Hurricane Sandy. Please keep them in your prayers.
Making a Stamped Background
Hello Everyone!
Today's project is making a stamped background paper for my project. It is also posted at http://groups.yahoo.com/group/easywishbladers/.
I feel honored to belong to this group for the past few years. I was given the opportunity to be a moderator. The group owners, the moderating team and the members are all wonderful and so much fun to interact with.

Recently, I discovered a new stamping system called Inkadinkado Stamping Gear by eksucess. I love this system so much because it gives me so much versatility to make unique patterns with stamps. I practiced a bit before I decided to make a background paper, using their system and stamps. I'm having way too much fun with this.

 This
is the Inkadinkado Stamping Gear Deluxe by eksuccess. The set includes a
clear plastic stamp paddle block that is wide on one end and narrower
on the other end. On either end of the paddle it has a tab that fits
into the slots of the gears. This allows you to use either end of the
paddle to fit into the gear slots and space out your stamps to make your
own unique design. I used their stamp which looks like bubbles. You can
position the stamps in any direction on the block. I also tested other
clear and unmounted rubber stamps on the paddle block and it held them
quite nicely.
This
is the Inkadinkado Stamping Gear Deluxe by eksuccess. The set includes a
clear plastic stamp paddle block that is wide on one end and narrower
on the other end. On either end of the paddle it has a tab that fits
into the slots of the gears. This allows you to use either end of the
paddle to fit into the gear slots and space out your stamps to make your
own unique design. I used their stamp which looks like bubbles. You can
position the stamps in any direction on the block. I also tested other
clear and unmounted rubber stamps on the paddle block and it held them
quite nicely.
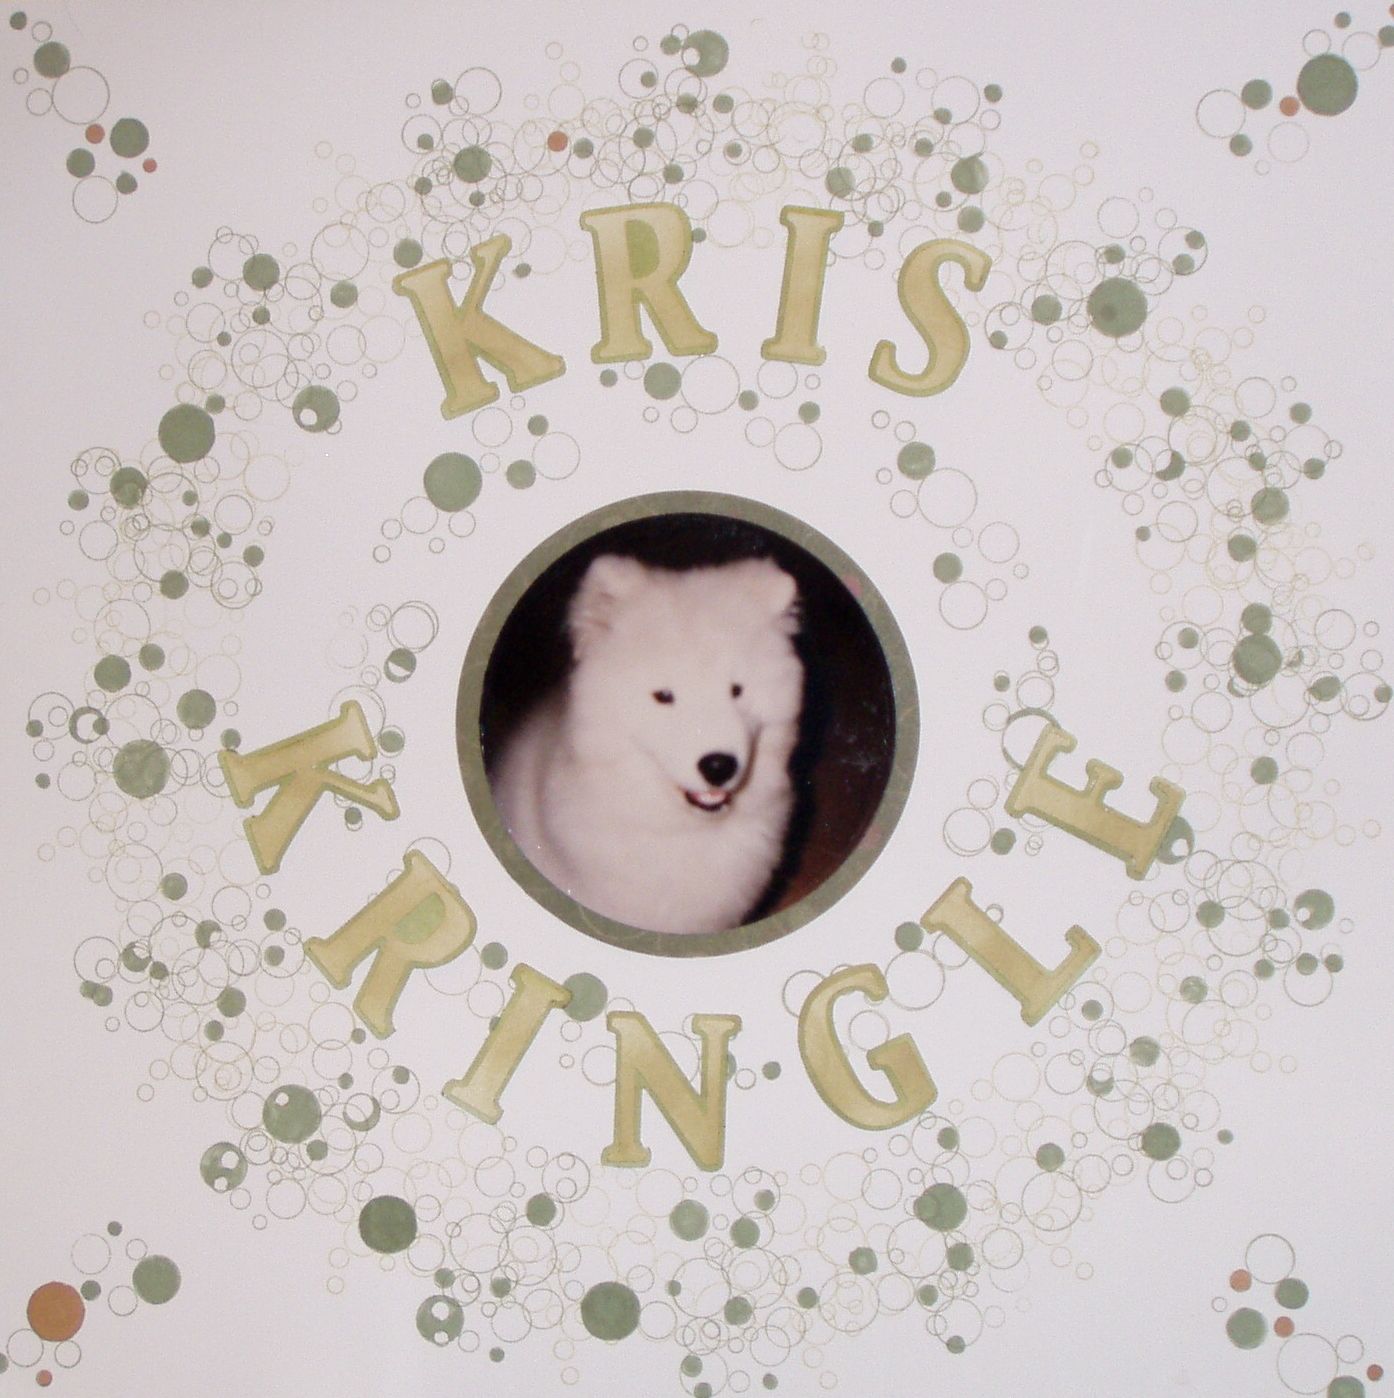
 After
I was done coloring in the bubbles, I cut both layers of letters out of
the Bazzill white and sponged over them with the matching color ink
pads used in the project. Cut out the mat and added the photo of Kris.
After
I was done coloring in the bubbles, I cut both layers of letters out of
the Bazzill white and sponged over them with the matching color ink
pads used in the project. Cut out the mat and added the photo of Kris.
I just love the bubble stamp because Kris had a bubbly personality. He was always smiling. He sure was a cutie pie.
Side note* - Depending on the size of the stamp, you can put 2 stamps on the paddle and stamp at the same time so everything is perfectly lined up. I've used stamps and moved the gears around to make curves back and forth and spirals. I'm still experimenting with this system but I have to say I love it.
There are so many ways to make background papers, let your imagine fly and see what you come up with!
Debbie
Today's project is making a stamped background paper for my project. It is also posted at http://groups.yahoo.com/group/easywishbladers/.
I feel honored to belong to this group for the past few years. I was given the opportunity to be a moderator. The group owners, the moderating team and the members are all wonderful and so much fun to interact with.
Recently, I discovered a new stamping system called Inkadinkado Stamping Gear by eksucess. I love this system so much because it gives me so much versatility to make unique patterns with stamps. I practiced a bit before I decided to make a background paper, using their system and stamps. I'm having way too much fun with this.


 |
| This is what it looks like stamped directly onto Creative Memories Spargo scrapbook page. It looks really nice. |
I chose a sheet of 12 x 12 Bazzill white cardstock.
Centered the small Circle Cog in the middle of the page.
I
used Stampin Up ink pads in River Rock and Mellow Moss and the
Inkadinkado stamp that looks like bubbles and turned it sideways on the
stamping block.
First I stamped the Old Olive around the small gear.
Next step was to line up the Circle Wheel around what I just stamped.
Repositioned the bubbles stamp to the length of the Stamp Paddle Block.
Starting
stamping around the outside of the Circle Wheel using the River Rock
skipping every other slot. The I filled in the spaces using the Mellow
Moss.
After all the stamping was done, I filled in some of the bubbles using a Mellow Moss and a Creamy Carmel marker.
I just love the bubble stamp because Kris had a bubbly personality. He was always smiling. He sure was a cutie pie.
Side note* - Depending on the size of the stamp, you can put 2 stamps on the paddle and stamp at the same time so everything is perfectly lined up. I've used stamps and moved the gears around to make curves back and forth and spirals. I'm still experimenting with this system but I have to say I love it.
There are so many ways to make background papers, let your imagine fly and see what you come up with!
Debbie
Tuesday, October 23, 2012
From Plain to Decorated
I can't believe it's Tuesday already. I seem to have lost track of time since I was away at a scrap fest over the weekend.
For today's Tuesday Tip and Techniques, I decided to show something I did a while ago. When I was first putting my craft room together, I had purchased some small wire cubes to hold my papers. As time goes by, some things just don't seem to function properly for what they were intended. Case in point, I accumulated a ton of papers over the last few years and needed a better way to keep my papers. I went to Michael's and bought the Jet Maxx cubes, using a 1/2 off total purchase coupon. That was a huge savings as the cubes were already on sale at half price and then top that with the coupon. Big savings in the wallet. Here is what they look like stacked up.
.jpg)

.jpg)
.jpg)
.jpg)
For today's Tuesday Tip and Techniques, I decided to show something I did a while ago. When I was first putting my craft room together, I had purchased some small wire cubes to hold my papers. As time goes by, some things just don't seem to function properly for what they were intended. Case in point, I accumulated a ton of papers over the last few years and needed a better way to keep my papers. I went to Michael's and bought the Jet Maxx cubes, using a 1/2 off total purchase coupon. That was a huge savings as the cubes were already on sale at half price and then top that with the coupon. Big savings in the wallet. Here is what they look like stacked up.
.jpg)
They are plain white and I wanted to put something on the sides so I decided to dress them up with vinyl. Using my Wishblade, I decided to put our dogs on the side of the cubes along with their names.

.jpg)
.jpg)
.jpg)
The cubes are no longer just a boring white and every time I see the cubes, I get a smile on my face.
I've used my cutting machines to cut vinyl for holidays to decorate our walls and windows and I'm still using the vinyl cut outs. I just keep them on backer paper for vinyl and cover them with wax paper when I store them. There are many things you can add to vinyl for decorating. I've stamped it, used Copic markers. Puffy Paint, Stickles sprayed it with Krylon webbing spray used punches on it to make borders so far. I've even used a Versamark pad and used embossing powder on it and it turned out beautiful.
If you surf the internet, you'll see vinyl in crafting on glass blocks that are so popular, and also on tiles. Vinyl is quite easy to cut and it really does add a bit of punch to decorating. So go ahead, grab some vinyl and let your imagination go!
Have a great Tuesday!
Debbie
Subscribe to:
Posts (Atom)

