Today's project is making a stamped background paper for my project. It is also posted at http://groups.yahoo.com/group/easywishbladers/.
I feel honored to belong to this group for the past few years. I was given the opportunity to be a moderator. The group owners, the moderating team and the members are all wonderful and so much fun to interact with.
Recently, I discovered a new stamping system called Inkadinkado Stamping Gear by eksucess. I love this system so much because it gives me so much versatility to make unique patterns with stamps. I practiced a bit before I decided to make a background paper, using their system and stamps. I'm having way too much fun with this.


 |
| This is what it looks like stamped directly onto Creative Memories Spargo scrapbook page. It looks really nice. |
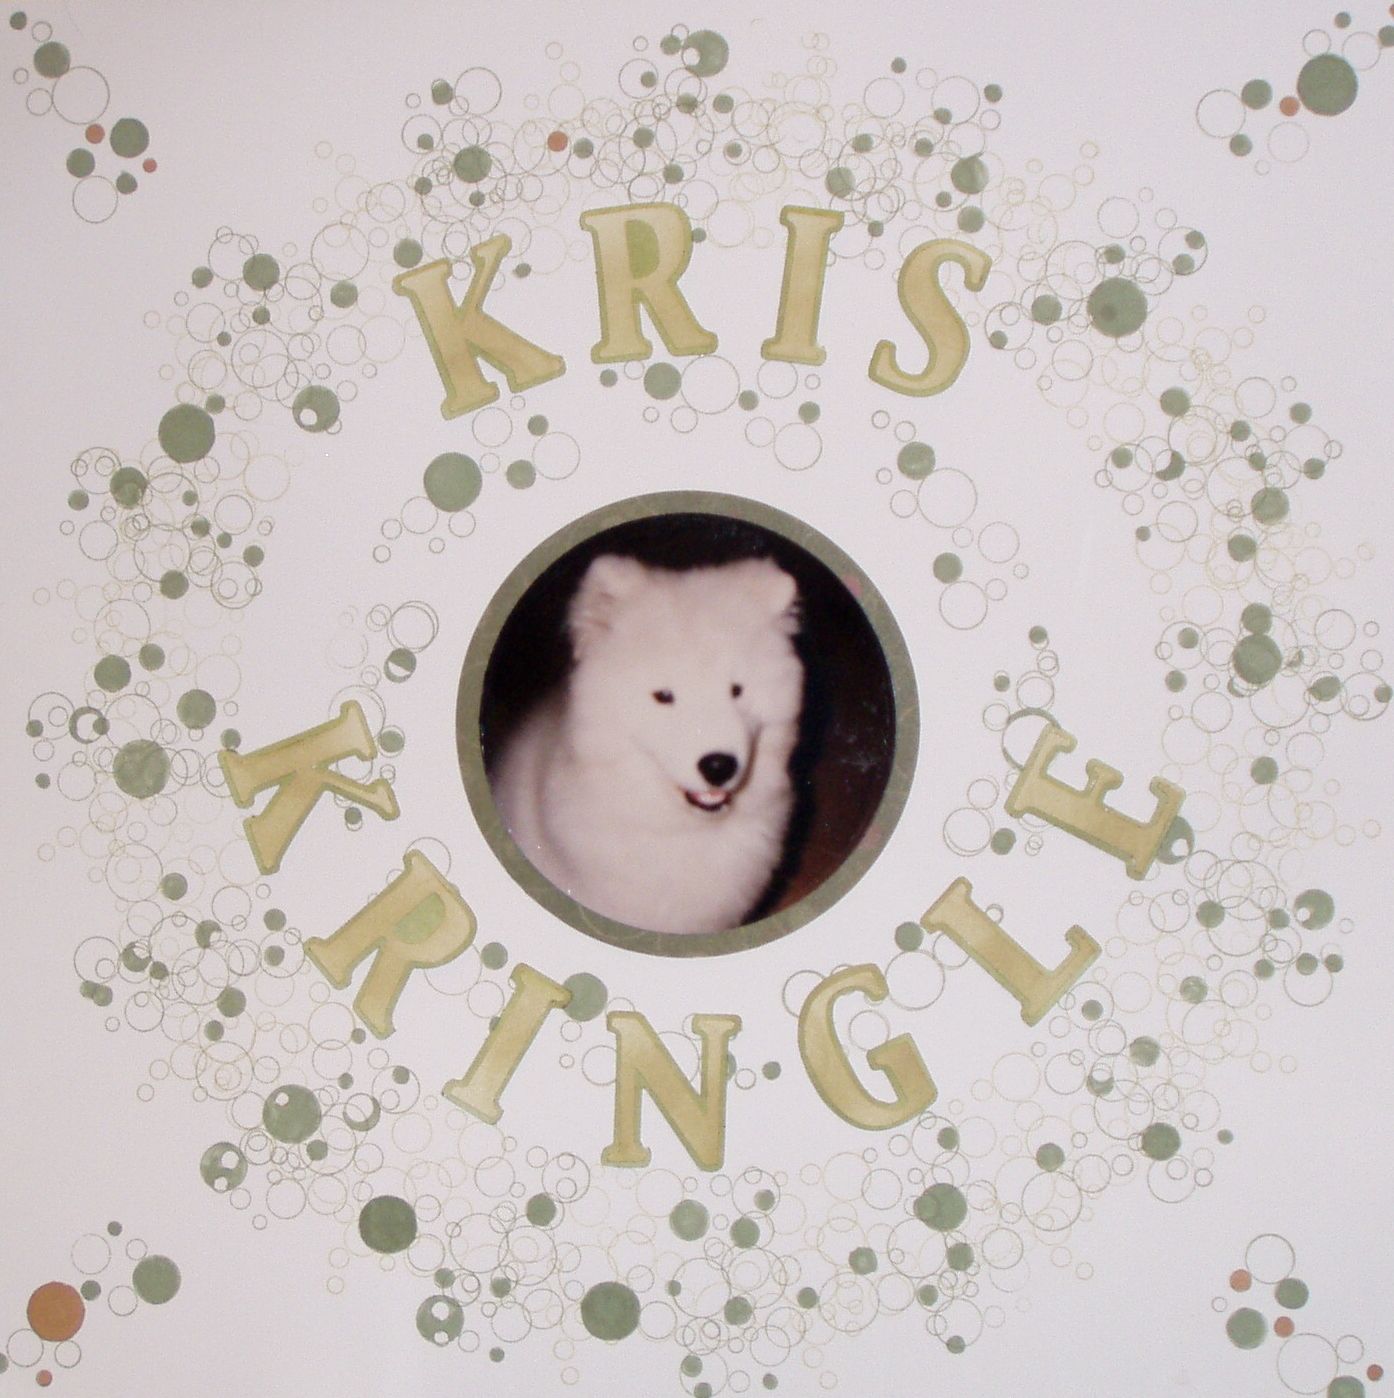
I chose a sheet of 12 x 12 Bazzill white cardstock.
Centered the small Circle Cog in the middle of the page.
I
used Stampin Up ink pads in River Rock and Mellow Moss and the
Inkadinkado stamp that looks like bubbles and turned it sideways on the
stamping block.
First I stamped the Old Olive around the small gear.
Next step was to line up the Circle Wheel around what I just stamped.
Repositioned the bubbles stamp to the length of the Stamp Paddle Block.
Starting
stamping around the outside of the Circle Wheel using the River Rock
skipping every other slot. The I filled in the spaces using the Mellow
Moss.
After all the stamping was done, I filled in some of the bubbles using a Mellow Moss and a Creamy Carmel marker.
I just love the bubble stamp because Kris had a bubbly personality. He was always smiling. He sure was a cutie pie.
Side note* - Depending on the size of the stamp, you can put 2 stamps on the paddle and stamp at the same time so everything is perfectly lined up. I've used stamps and moved the gears around to make curves back and forth and spirals. I'm still experimenting with this system but I have to say I love it.
There are so many ways to make background papers, let your imagine fly and see what you come up with!
Debbie
No comments:
Post a Comment