Thursday, November 22, 2012
Tuesday, November 13, 2012
Using Pens & Markers
How do you use your pens and markers in your crafting? Do you use them in your cutting machine or just as stand alone tools?I love using mine with my cutting machines.
I wanted to make a parrot embellishment for my vacation page. I didn't have the color papers that I needed so I found a piece of free artwork online, pixel traced it in Make The Cut program and cut it out. I used my markers to fill in the parrot with the colors from the photo.


Here are some suggestions:
Happy Crafting!
I wanted to make a parrot embellishment for my vacation page. I didn't have the color papers that I needed so I found a piece of free artwork online, pixel traced it in Make The Cut program and cut it out. I used my markers to fill in the parrot with the colors from the photo.

Universal Studios Orlando - Jimmy Buffetts Margaritaville

This is the parrot embellishment

Small and Large Parrot embellishments on page
I used white cardstock to draw out the top layer, inserted a marker in cutting machine. Then I went back and cut the layer and filled it in with markers.
Here are some suggestions:
- There are pen and marker holders made for your cutting machine. Remove your cutting blade and insert the holder with your pen or marker. Now you are ready to let your machine do the drawing of your file before you cut it out.
- Let your machine draw your title or do your writing for you. Some people don't like their own handwriting. There are single line fonts available online.
- Use more than one color to draw your title. Instead of cutting out letters, I chose a font and then I make 2 or 3 sizes for the lettering. Draw the smallest size first. Change out your color and do the next layer in a larger size in another color, same for the 3rd layer. You can add lots of dimension to your title without using layers of paper on our project.
- Metallic pens and markers give a hint of sparkle to your cuts. They really give a nice especially on holiday files.
- If you are stamping and don't have a stamp pad in a certain color, swipe your marker over a sponge and add your color.
Happy Crafting!
Saturday, November 10, 2012
From Trash to Treasure
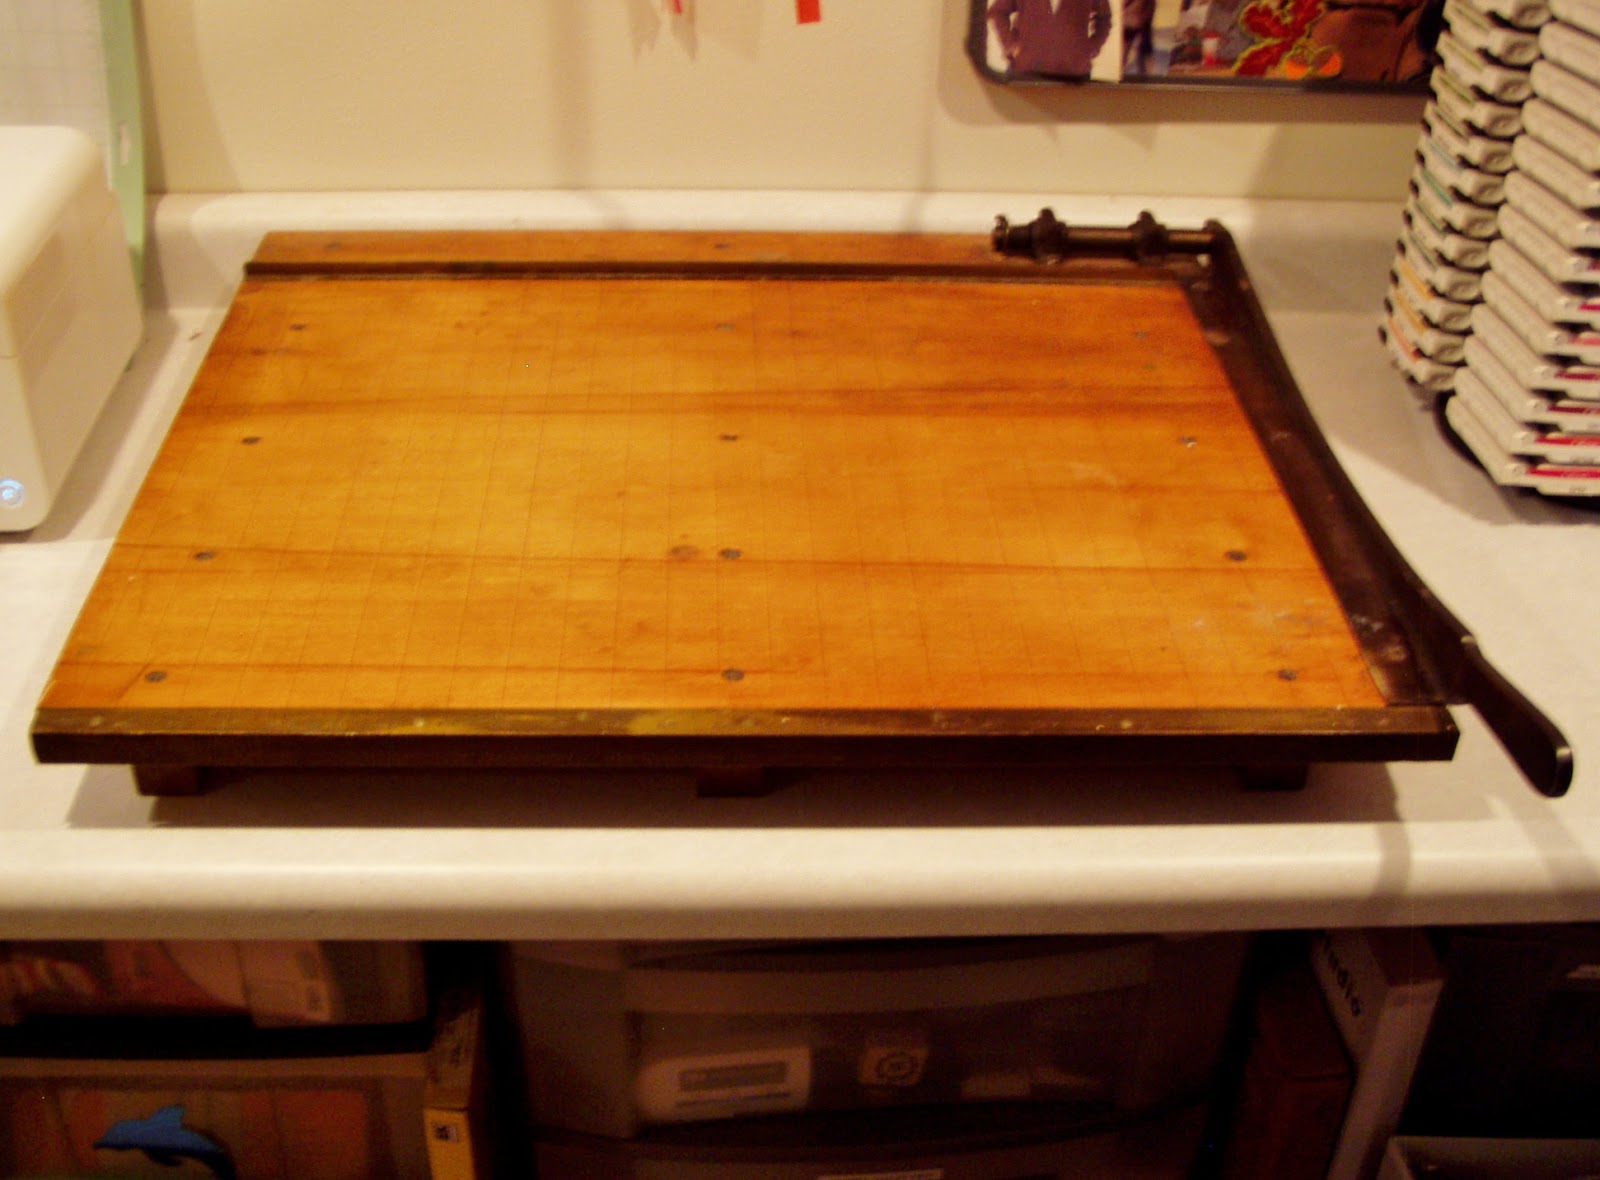
Does anyone remember the huge wooden paper cutters with the big black heavy metal handle from their school days? I have it!! A few years ago, my husband was taking garbage to our local dump. He met a man who said he was throwing out stuff from one of the schools and the paper cutter was no longer safe to be used around children in the classroom. The stop for the blade was missing.
My husband, always thinking ahead, brought it home. He nailed in a stop for me and I have a wonderful, and very accurate paper cutter. It shows 26 1/2 inches on the metal ruler and has lines from top to bottom edged into the wood. Talk about a great find.


My husband, always thinking ahead, brought it home. He nailed in a stop for me and I have a wonderful, and very accurate paper cutter. It shows 26 1/2 inches on the metal ruler and has lines from top to bottom edged into the wood. Talk about a great find.
A Treasured Find!

Here is a close up of the ruler on top of board
. The inch lines go from top to bottom of board.
So from what almost was thrown in the trash, has become a very treasured and well used item in my paper crafting. I also use it as a guide for layouts for my scrapbooking.
Here is hoping you come across an old fashioned treasure to help with your crafting!
Wednesday, November 7, 2012
Here's How I Store My File Cuts
Yesterday I posted an idea about how I store my file cuts on the EasyWishbladers group. It's a very easy way to keep track of the files that I cut with my cutting machines.
I use the older big square version of their Power Sort Box that was designed to hold like 600 photos. I wish they would have kept this size box but now they have a slimmer model. Anyway, inside it holds 12 divided Compartment boxes. I also use the Power Sort Dividers that I labeled with my Dynamo Labeler. I like that the box is plastic, yet sturdy. If something were to get spilled on it or dropped on it, I know my files are safe inside. There is quite a bit of space inside so I can really load this box with lots of file cuts.
Here are the photos:
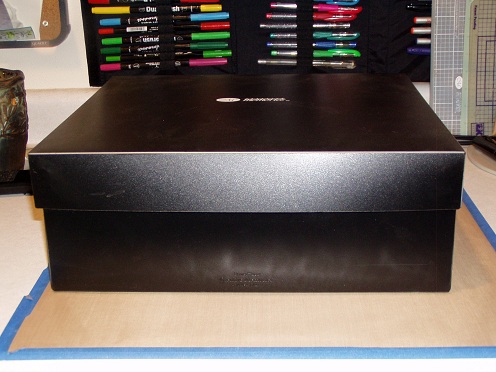
Creative Memories Power Sort Box
(older version)

Inside Cover

Divider Boxes with Labeled Divider Panels

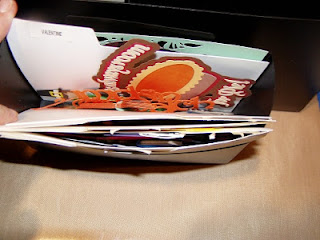
Thanksgiving File Cuts
I have large file cuts that will not fit in the divider boxes, so those are kept in the storage compartment that is built into the lid. This gives you an idea how to keep your file cuts all in one place. If I find a design that I like, I will cut it more than once in different colors or even in just white, so I can decorate it later in the colors I need. It really can't get any easier than this!
Hope this tip helps you in some way. Have a great day!
Subscribe to:
Posts (Atom)